
I first heard about the winter-sowing method of seed/plant starting a few years ago. In 2019, I decided to try it for my 2020 garden year. Friends and family supplied me with several jugs, upon request. During the winter, my son and I made a station in the garage. We set up a small heater, to keep us warm enough to work. It is a pretty simple concept, you use plastic jugs like a mini-greenhouse to germinate and grow your starter plants, outdoors.
First Attempt at winter-sowing
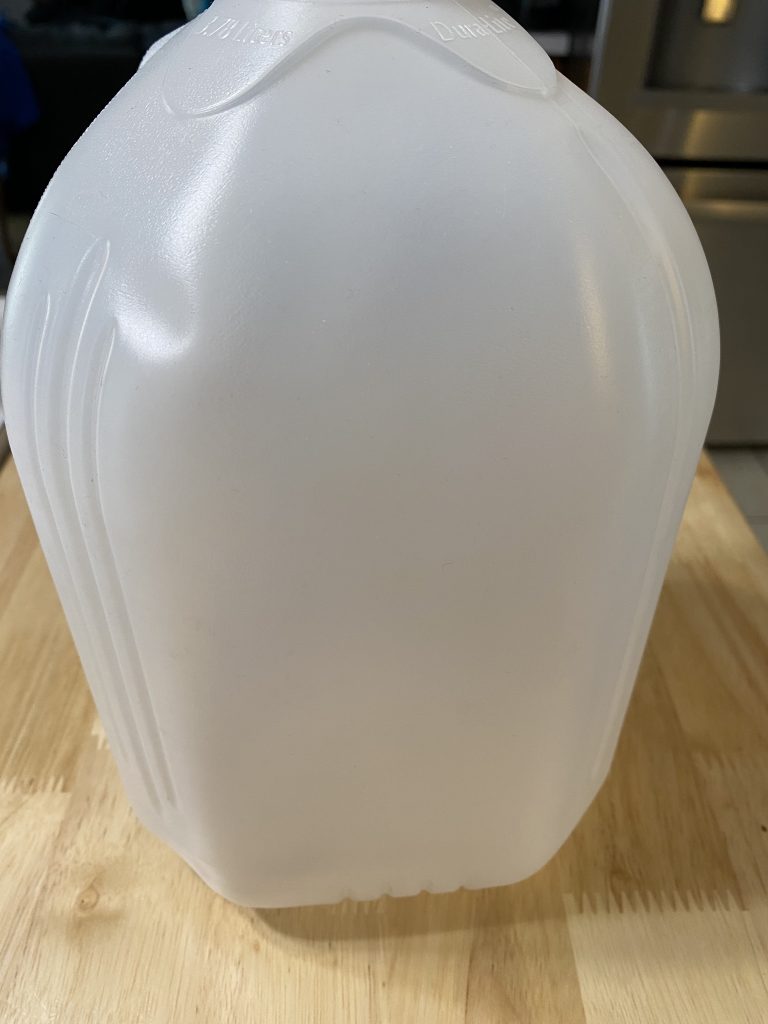
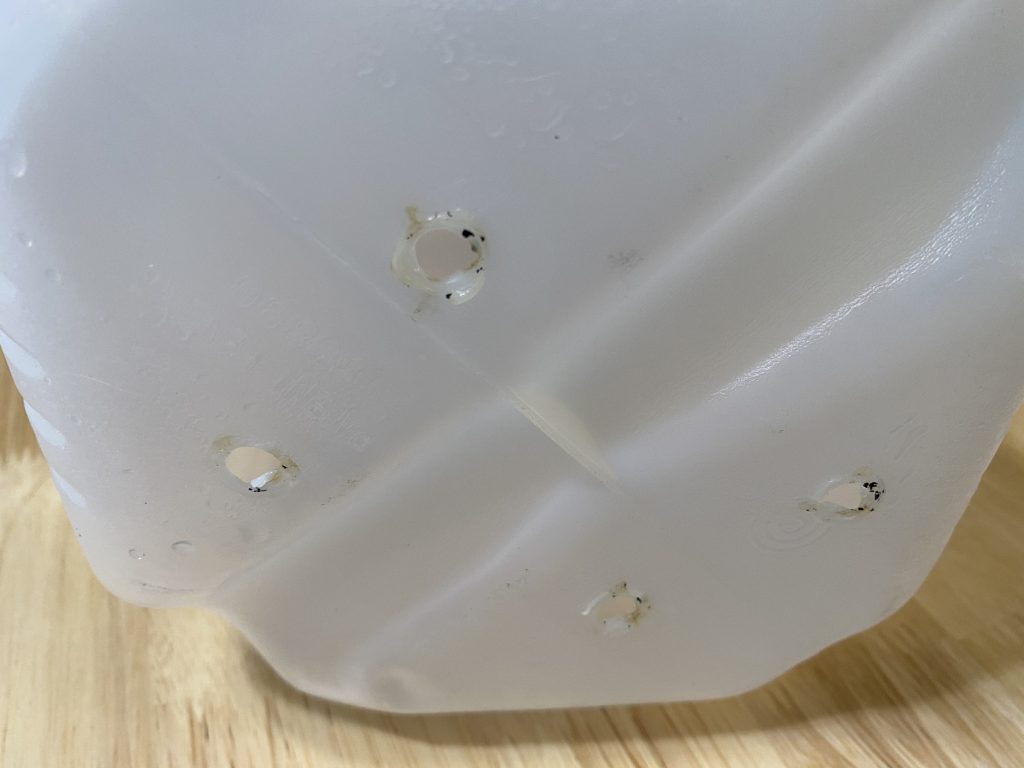
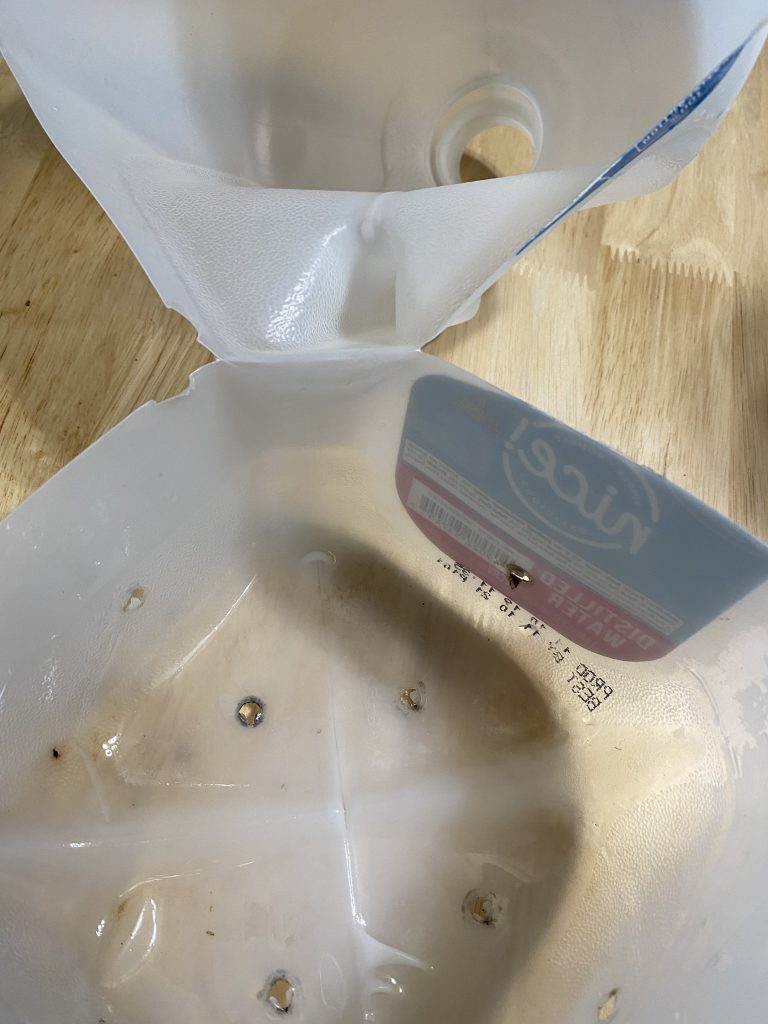
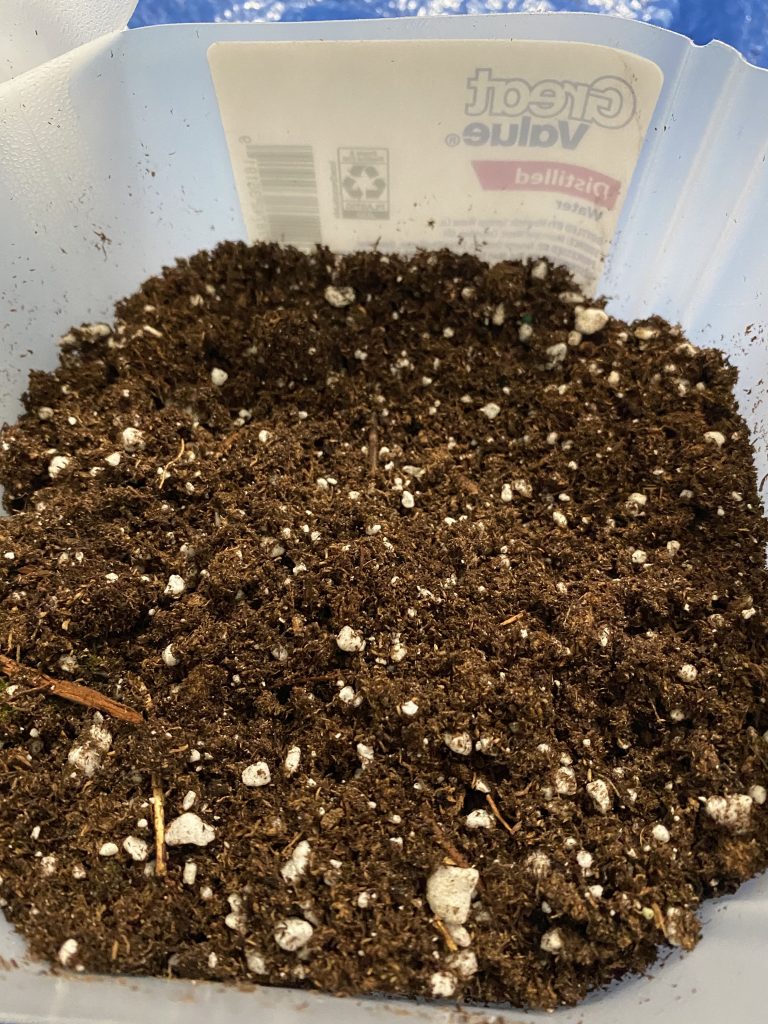
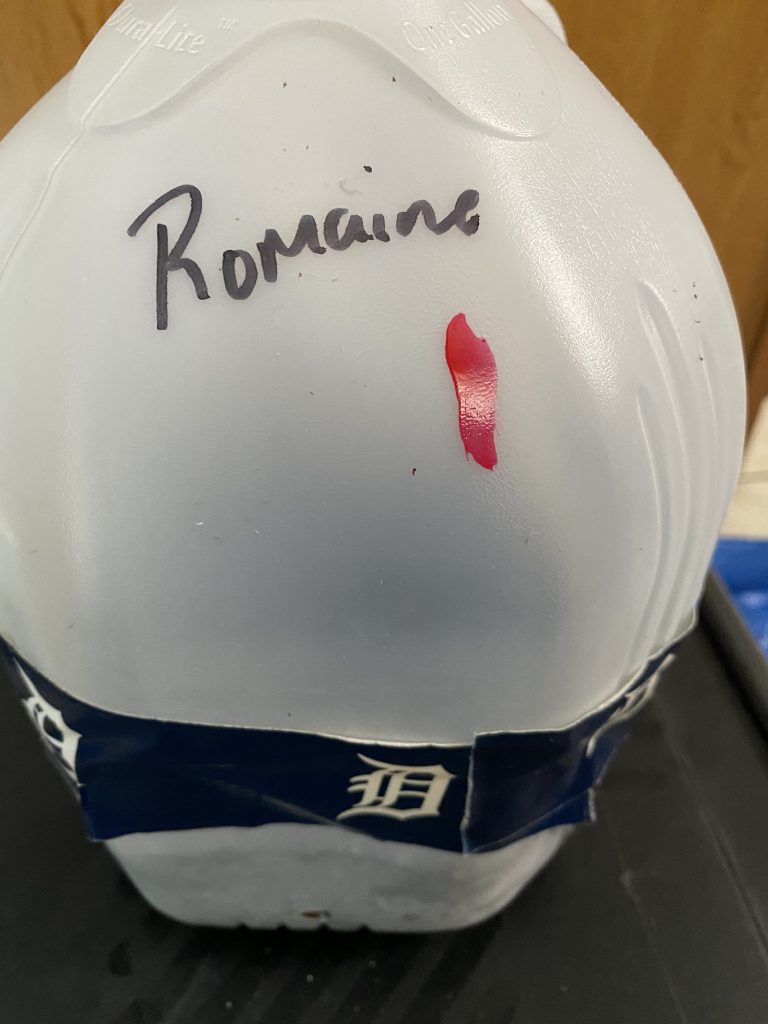
My husband and I cut the jugs and drilled holes in the bottom. I then filled the bottom of each jug with several inches of potting soil. I placed the seeds in the dirt, and then watered. We sealed the jugs with masking tape over the cut area. We placed plastic plant markers inside the jugs and we wrote on the outside of the jugs. The sharpie I used faded in the sun. The inside plant markers, stayed fairly readable. Lastly, just leave the caps off the jugs and set them outside in the snow.
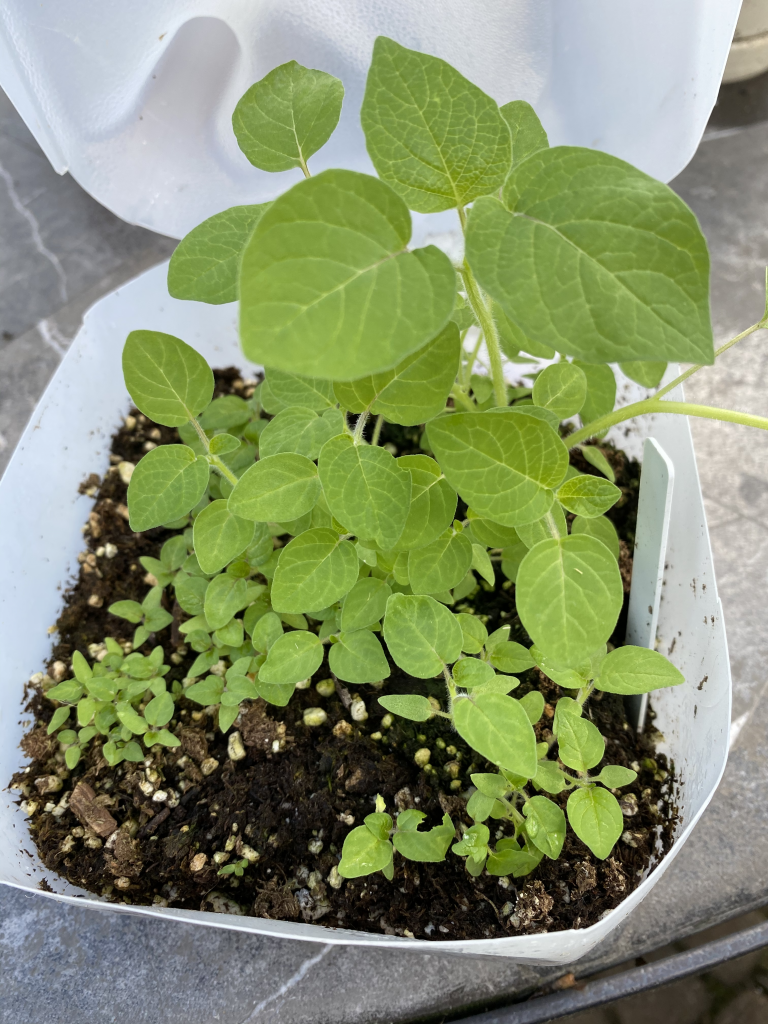
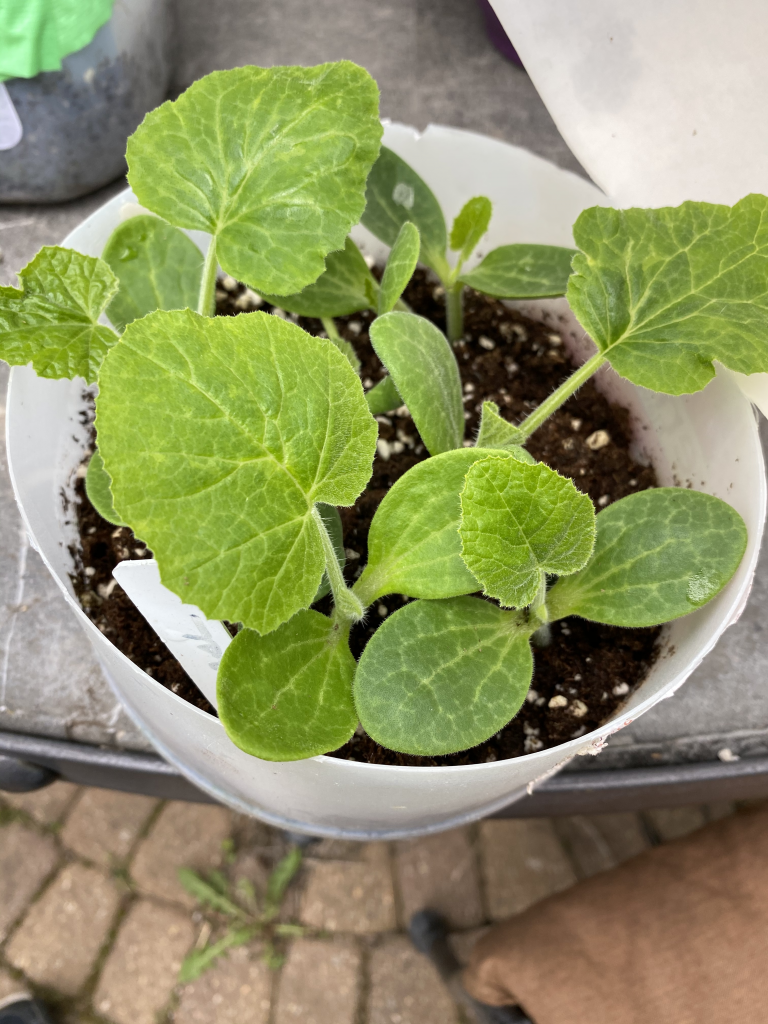
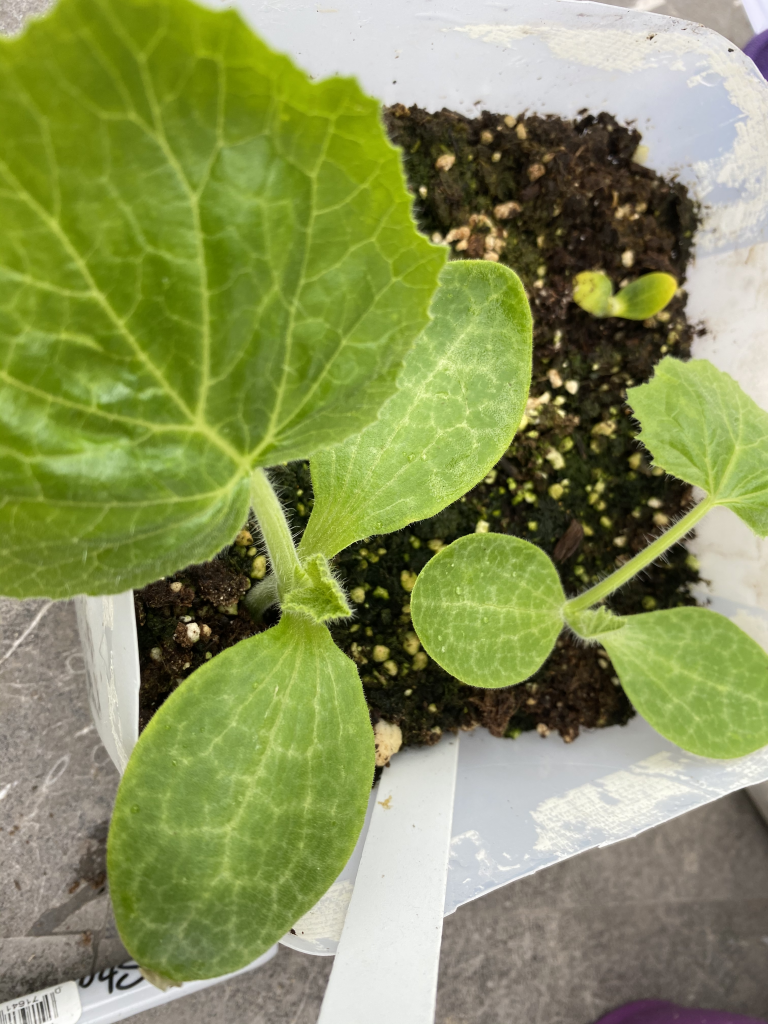
When the weather warms up in the spring, the seeds will germinate and grow. One benefit to the winter-sowing method is that the plants are already hardened off when it is time to plant. You also don’t need the indoor set up of grow lights, space, etc.
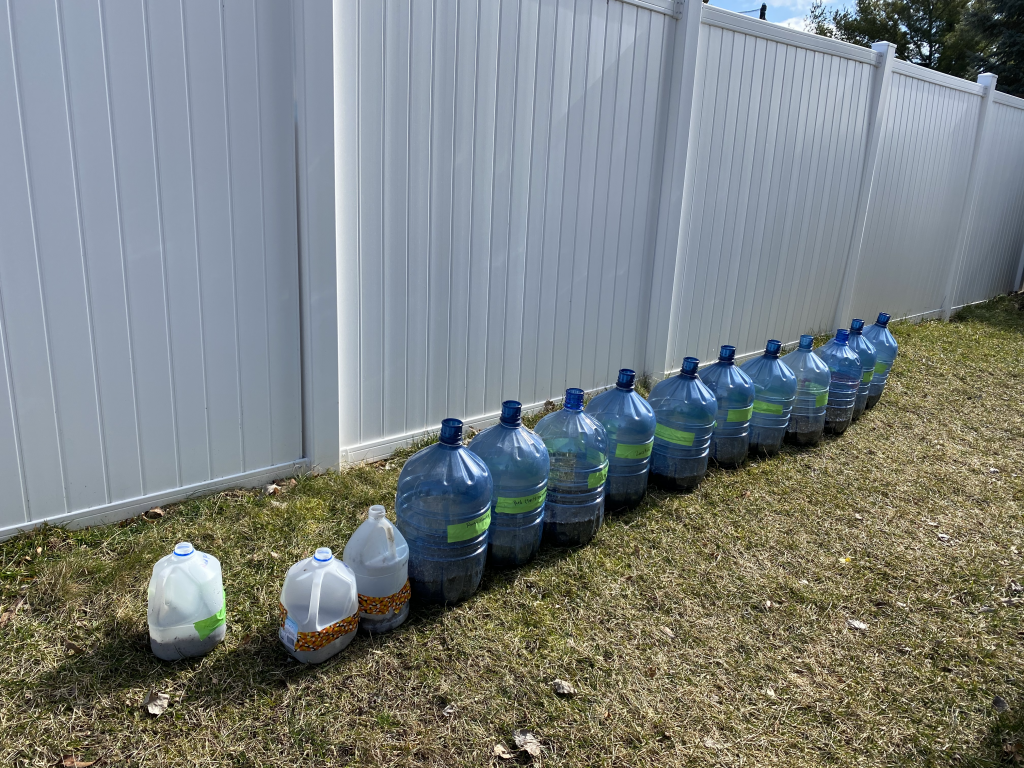
When I did this the first time, I put the jugs up against my shed near the side of my house. We had a wind storm and several blew over. Those seeds did not germinate well at all. This year, I built a little area that will hopefully keep them upright. The plants I did grow using this method turned out wonderful and grew extremely well.
Expanded garden, more winter-sowing jugs
One of our Quarantine projects in 2020 was to expand our garden. I wanted a bigger garden, so several new beds were added. We also added cedar around our older beds, that were lined with stones, and we removed the stones. We mulched all the pathways. Therefore, this year I am increasing the number of jugs and the varieties of some plants that I am starting using winter-sowing. The main issue I have now is that I bought so many seeds, because it is so much fun. I won’t be able to use nearly the number of seeds I have. It is an addicting hobby!
My favorite places to buy seeds are Baker’s Creek, MI Gardener, and Mary’s Heirloom Seeds.
The easiest way I have found to poke the holes in the jugs is to use a wood burning tool. It does smoke a bit and smell like burning plastic. The benefit, is that it goes through like butter and is quick and easy. I have seen others recommend putting a screwdriver into a heat source and heating it up. I find the wood burning tool to be less fuss over having to keep reheating a tool. Just be cautious around any hot tool, especially if you have children nearby.
Lessons learned
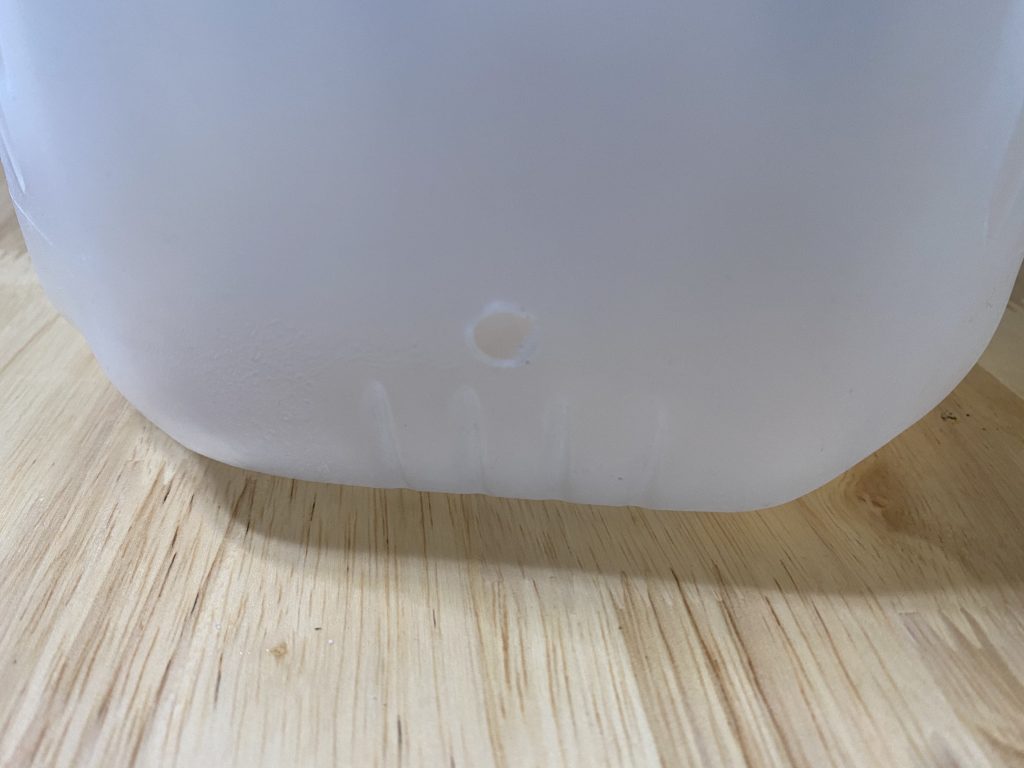
This year, I am learning from my first attempt. As mentioned, we built a place to store the filled jugs to help eliminate them tipping over. This year, I also plan to drill holes on the bottom of the jugs and just a bit up from the bottom on the sides of the jugs. I am hoping that will help with increased drainage so there is less chance of moss growing on the surface of the soil.
The numerous varieties of seeds I purchased means I will have a lot more crops to winter-sow this year. I would like to not have to buy hardly any plants commercially this year. Last year, I got a late start. This year I plan to start earlier in winter, and work on it over several weeks rather than trying to get it all done in a short time.
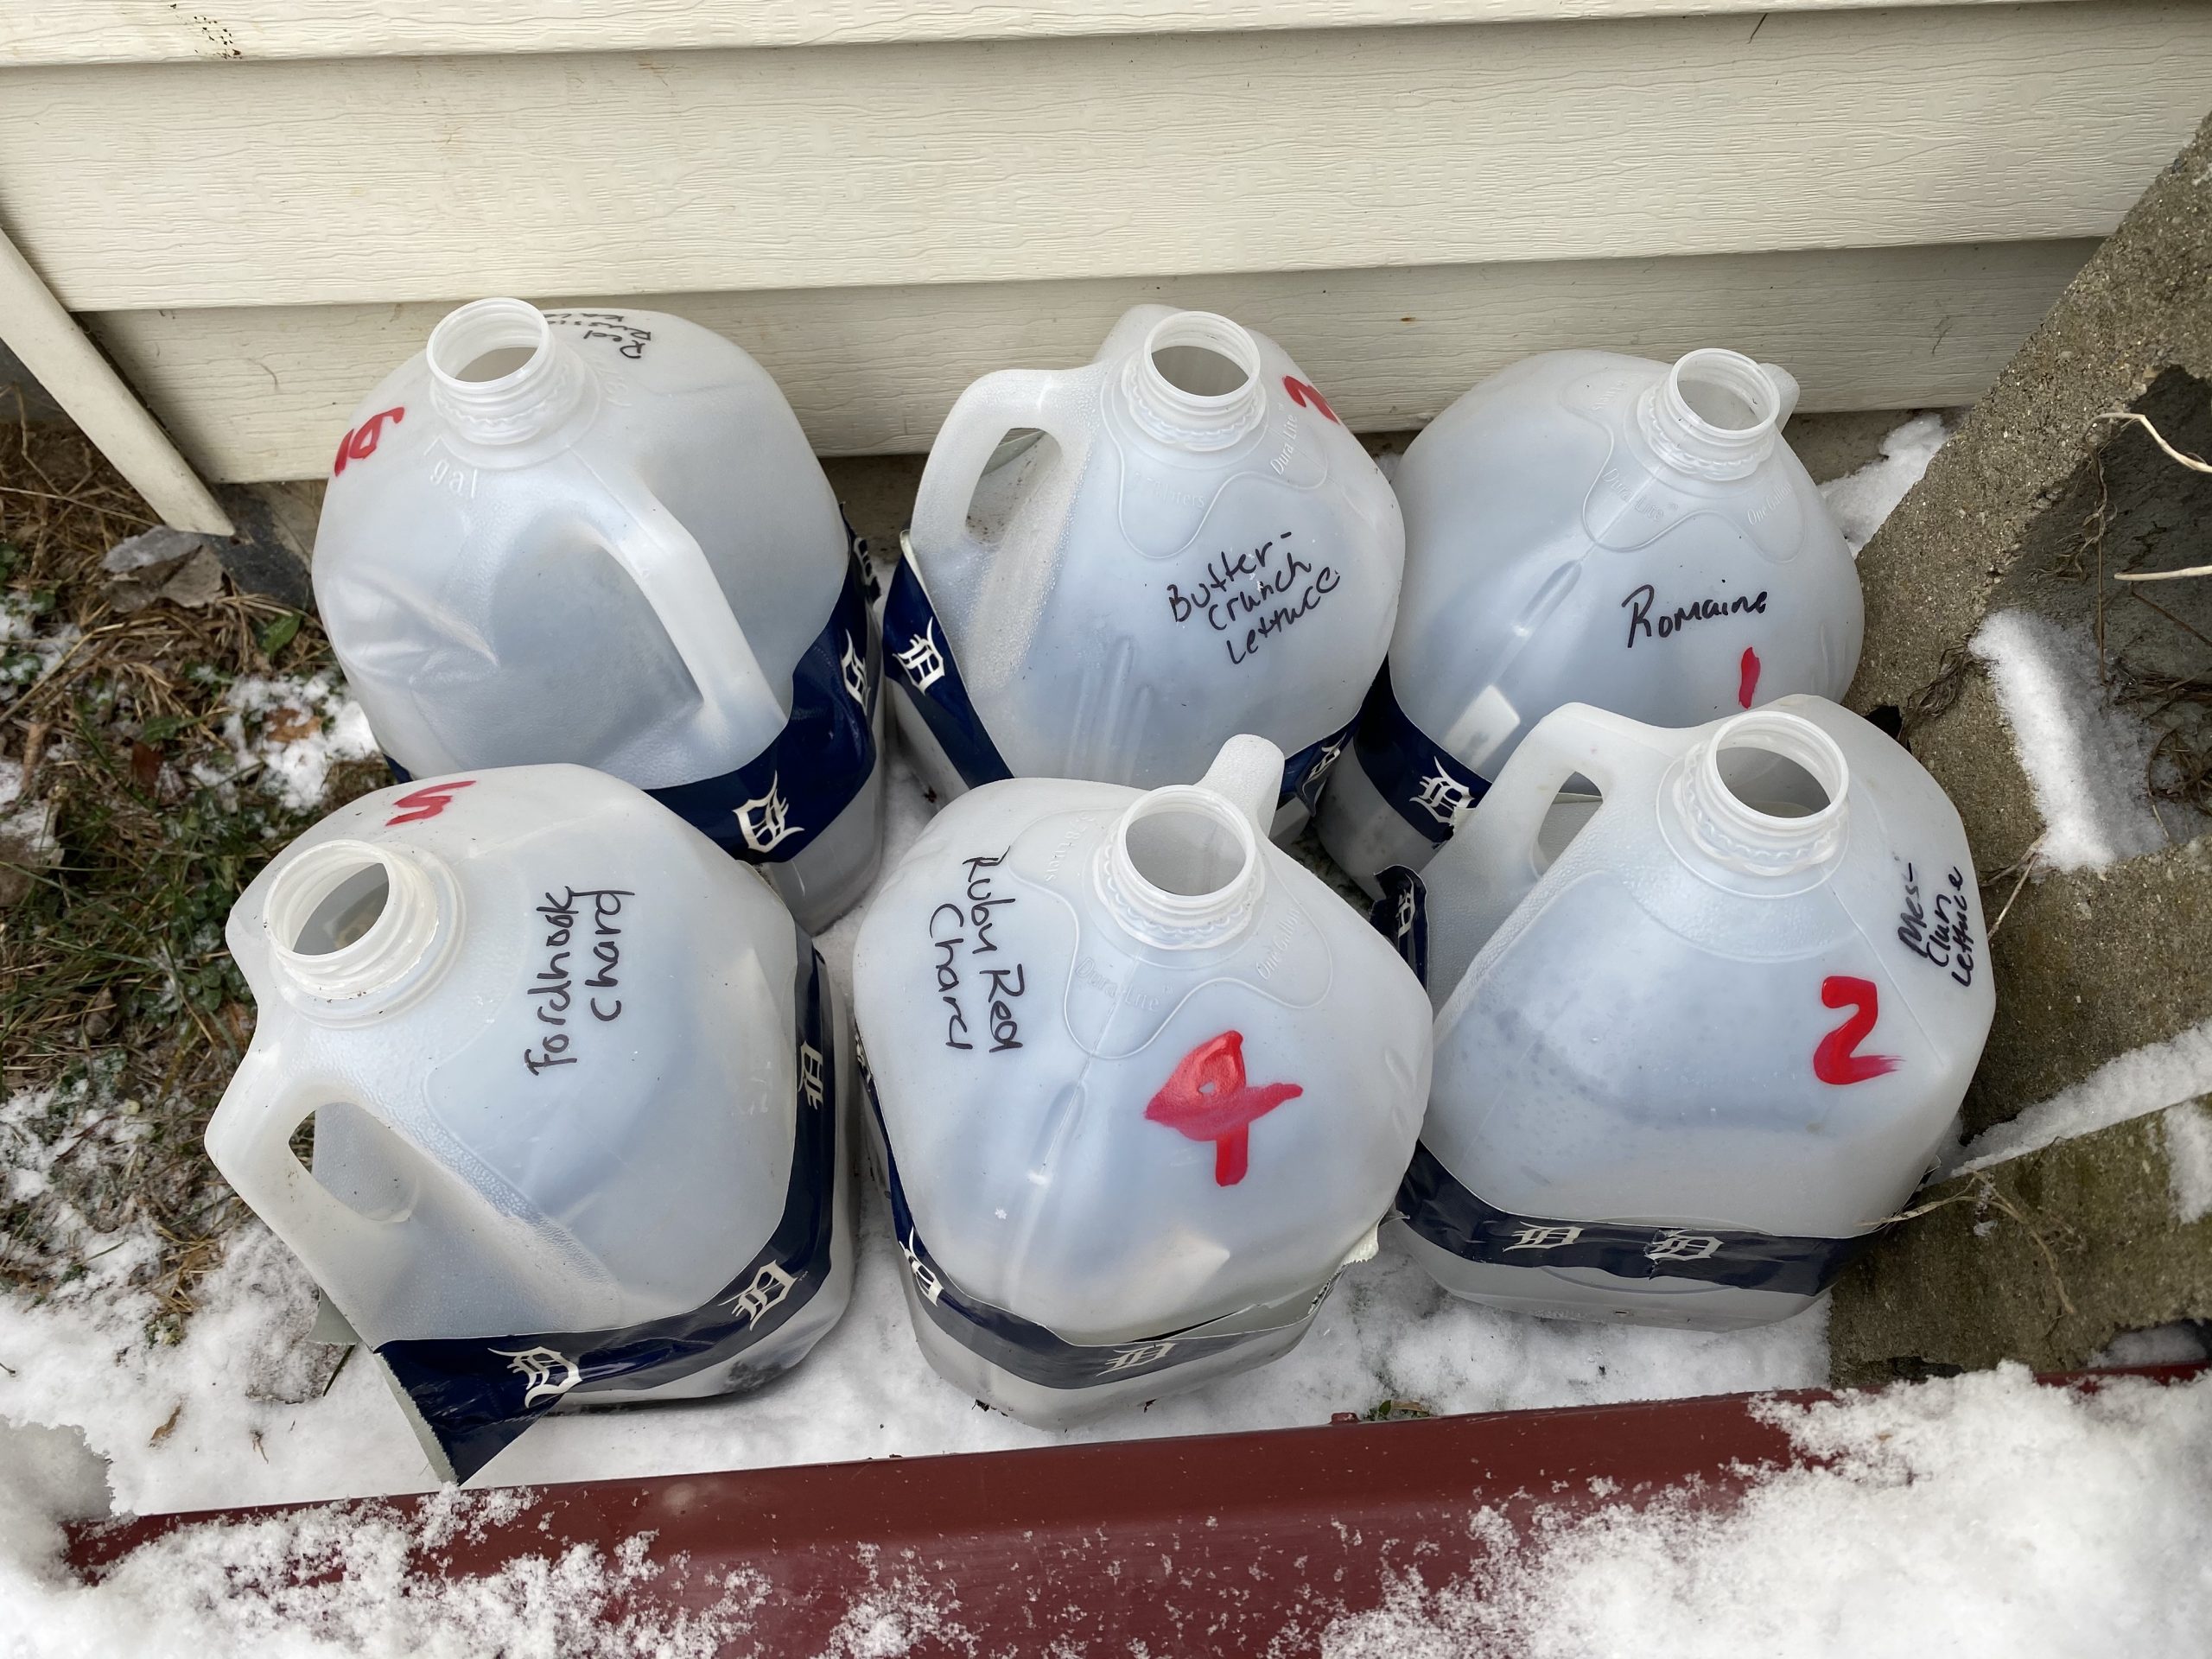
Labeling the jugs
The labeling of the jugs was difficult, I have some new ideas. A garden marker (which is supposed to hold up to the outdoors .I suspect it will fade some) instead of a regular Sharpie marker. The plan, this year, is to number the jugs and keep a written list of what is in each jug. I think that will help narrow down what is growing if all my labels fail (had a couple that got mixed up, or an inside label didn’t make it in the jug, and we had to guess at what type of tomato it was). I decided, to hopefully avoid the fading, to paint the numbers on the outside of the jugs with nail polish.
What I am not growing via winter-sowing method.
I learned that peppers need more heat to germinate the seeds than they get via winter-sowing. Others have had success, but here in SE Michigan, it did not work at all for me. Instead, for my pepper plants, I am going to germinate the seeds on a heat mat indoors.
There are several crops that need to be direct-sown. These I will simply seed directly into my garden in early spring. The crops that I grow and direct seed are radishes, beets, peas, carrots and potatoes. I grow my potatoes in a potato tower method (as I don’t currently have room for large rows of potatoes).
Additional note: In the spring we had a late cold snap, where it was getting below freezing. I did take my jugs that had some seedlings growing into my garage to keep them from getting too cold. My garage isn’t heated, but is above the outside temp. So just like any other tender plant, make sure you protect them if it gets too cold. I had to cover my beds after transplanting some plants, as we were getting late frost.
My USDA zone is 6a. You can find more information on winter-sowing by searching for Facebook groups and youtube videos.

Lisa you are awesomely amazing! A true homesteader‼️
Can I use clear totes I don’t have any jugs?
I’ve heard of people using clear totes, but I’ve never tried it. I do know that I just asked on social media and friends gave me empty jugs. Otters have been able to ask at local coffee shops to get jugs.
Thank you for this! I’m inspired! Starting this weekend!
Use a coffee filter on the bottom to keep your soil. Then a large rock or several small rocks to help keep the jugs upright.
Yes, you can do that, I found the holes I put in were fine for drainage and didn’t really leak much soil.
Where did you find this duct tape??
I have had it a long time. My kids used to make duct tape projects and I used tape for scout crafts, we are done with those activities, so I have started using it up for this. It was probably purchased at Joann’s, Michael’s or Meijer at the time I bought it.
This looks awesome. Did you have to water them at all after the initial set up? We have weird weather that get into the 60-70 during the winter months and then drop back to freezing. I’m curious if you think I’d nsed to water at all.
Thanks!
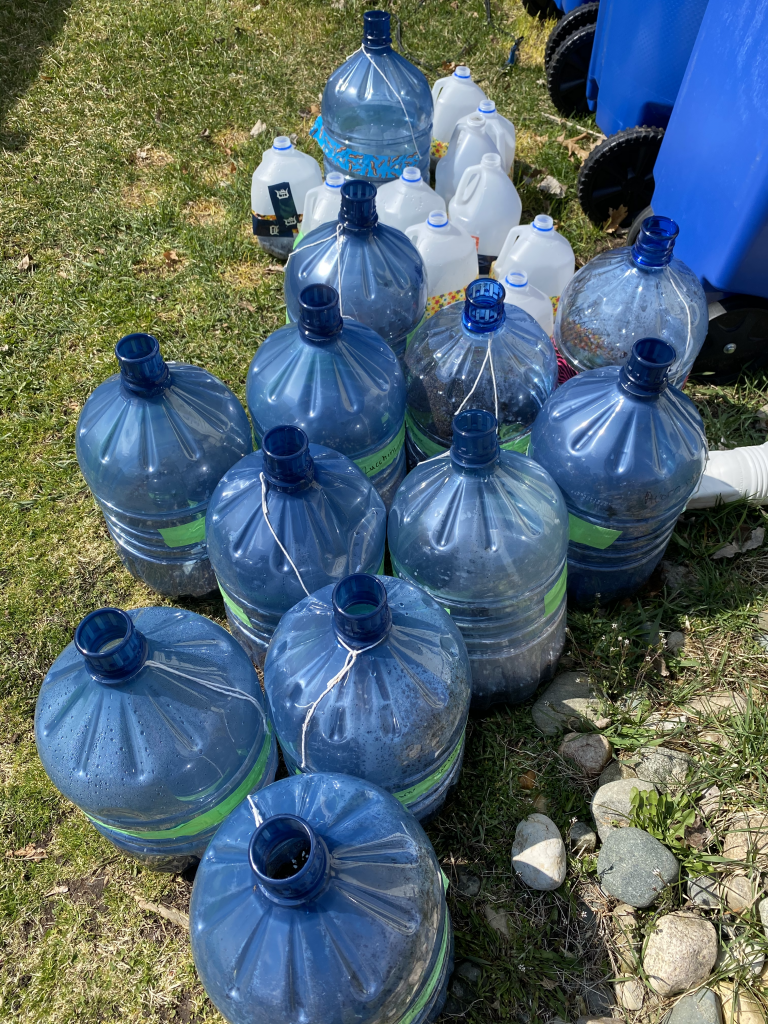
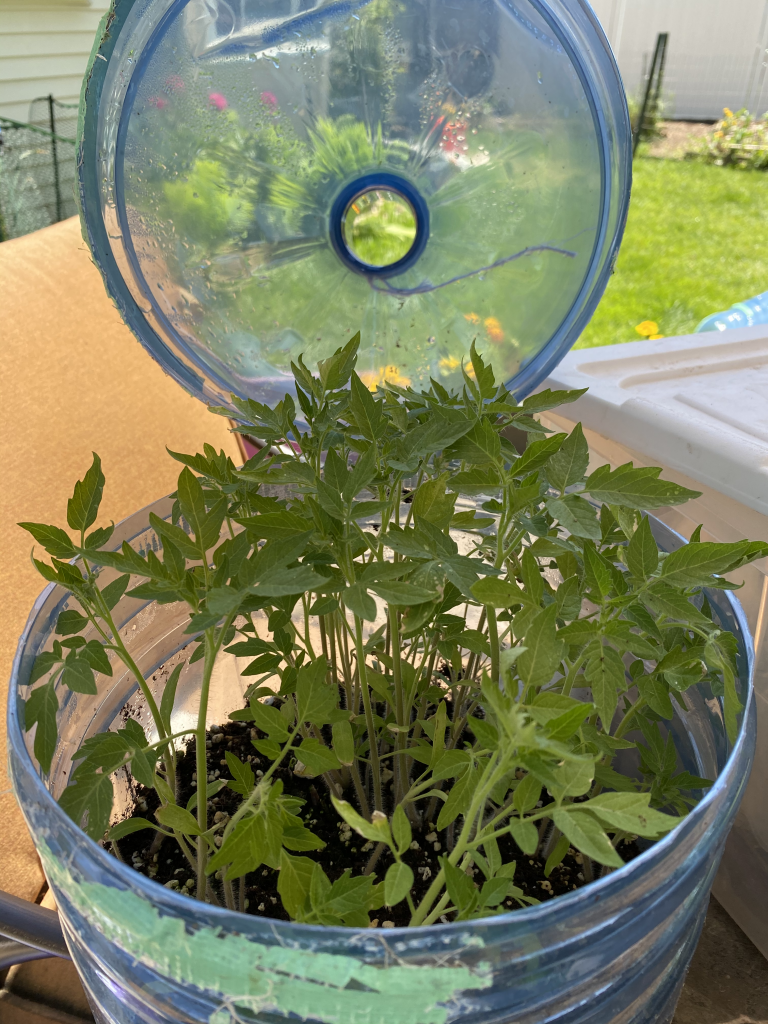
I do sometimes water them. I find my regular gallon jugs rarely need watering, but the larger jugs dry out quicker and I have watered them.